Deploy to Heroku with JawsDB MySQL


This article is for developers that want to deploy projects from local DB-MySQL Workbench to Heroku . I’m assuming that you already know how to use MySQL Workbench in your local machine and that you already deploy one or two projects to Heroku . I hope that in couple of steps you will have your local project connected to JawsDB MySQL.
Step 1 :
I’m assuming that you already open a new project in Heroku.
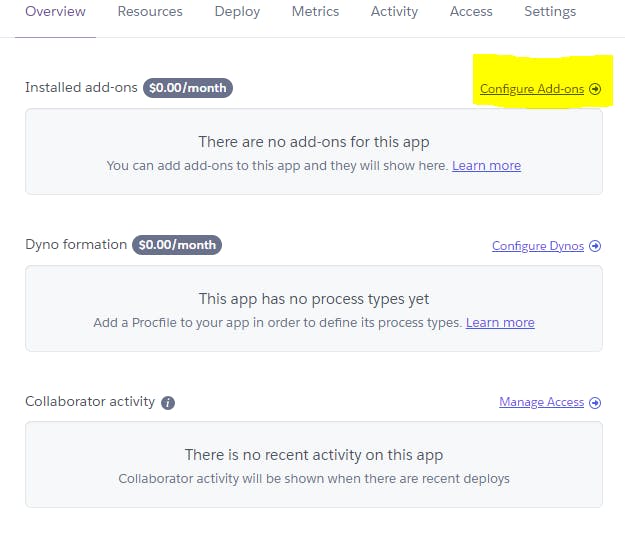
Click where it says Configure Add-ons (yellow color in the picture).
Next window that will pop up :
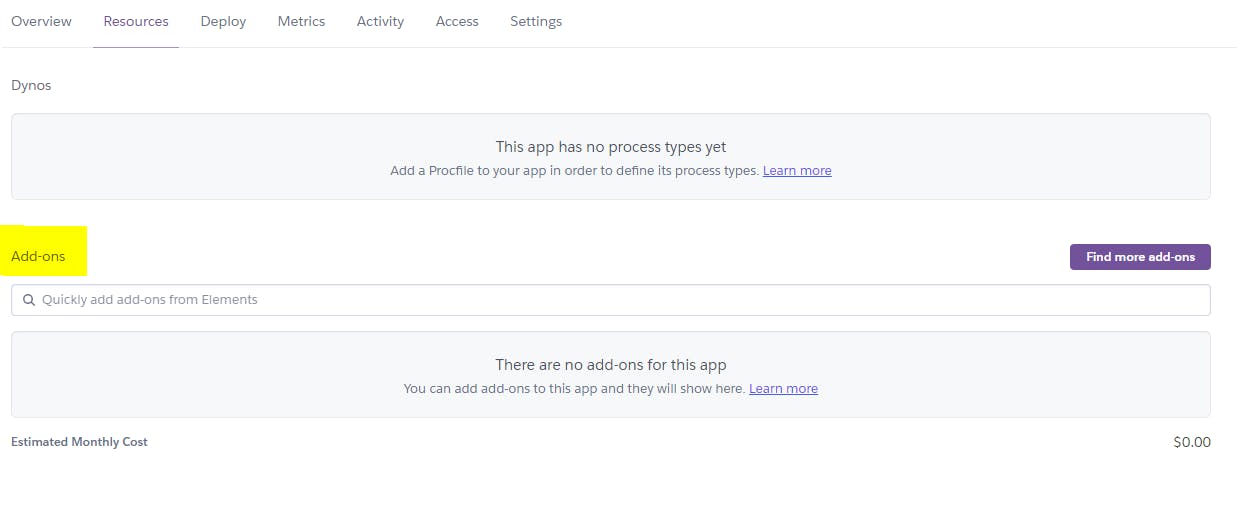
You will see input field just look for JawsDB MySQL.
Choose the free version (but you can choose what ever you need) , if it’s a small project I recommend to use the free version-it’s good enough.
Click Submit Order Form.
On the next window click JawsDB MySQL.
With the previous step you finished with the Heroku and now you need to open your MySQL Workbench.
After you opened your MySQL Workbench on your local machine click on:
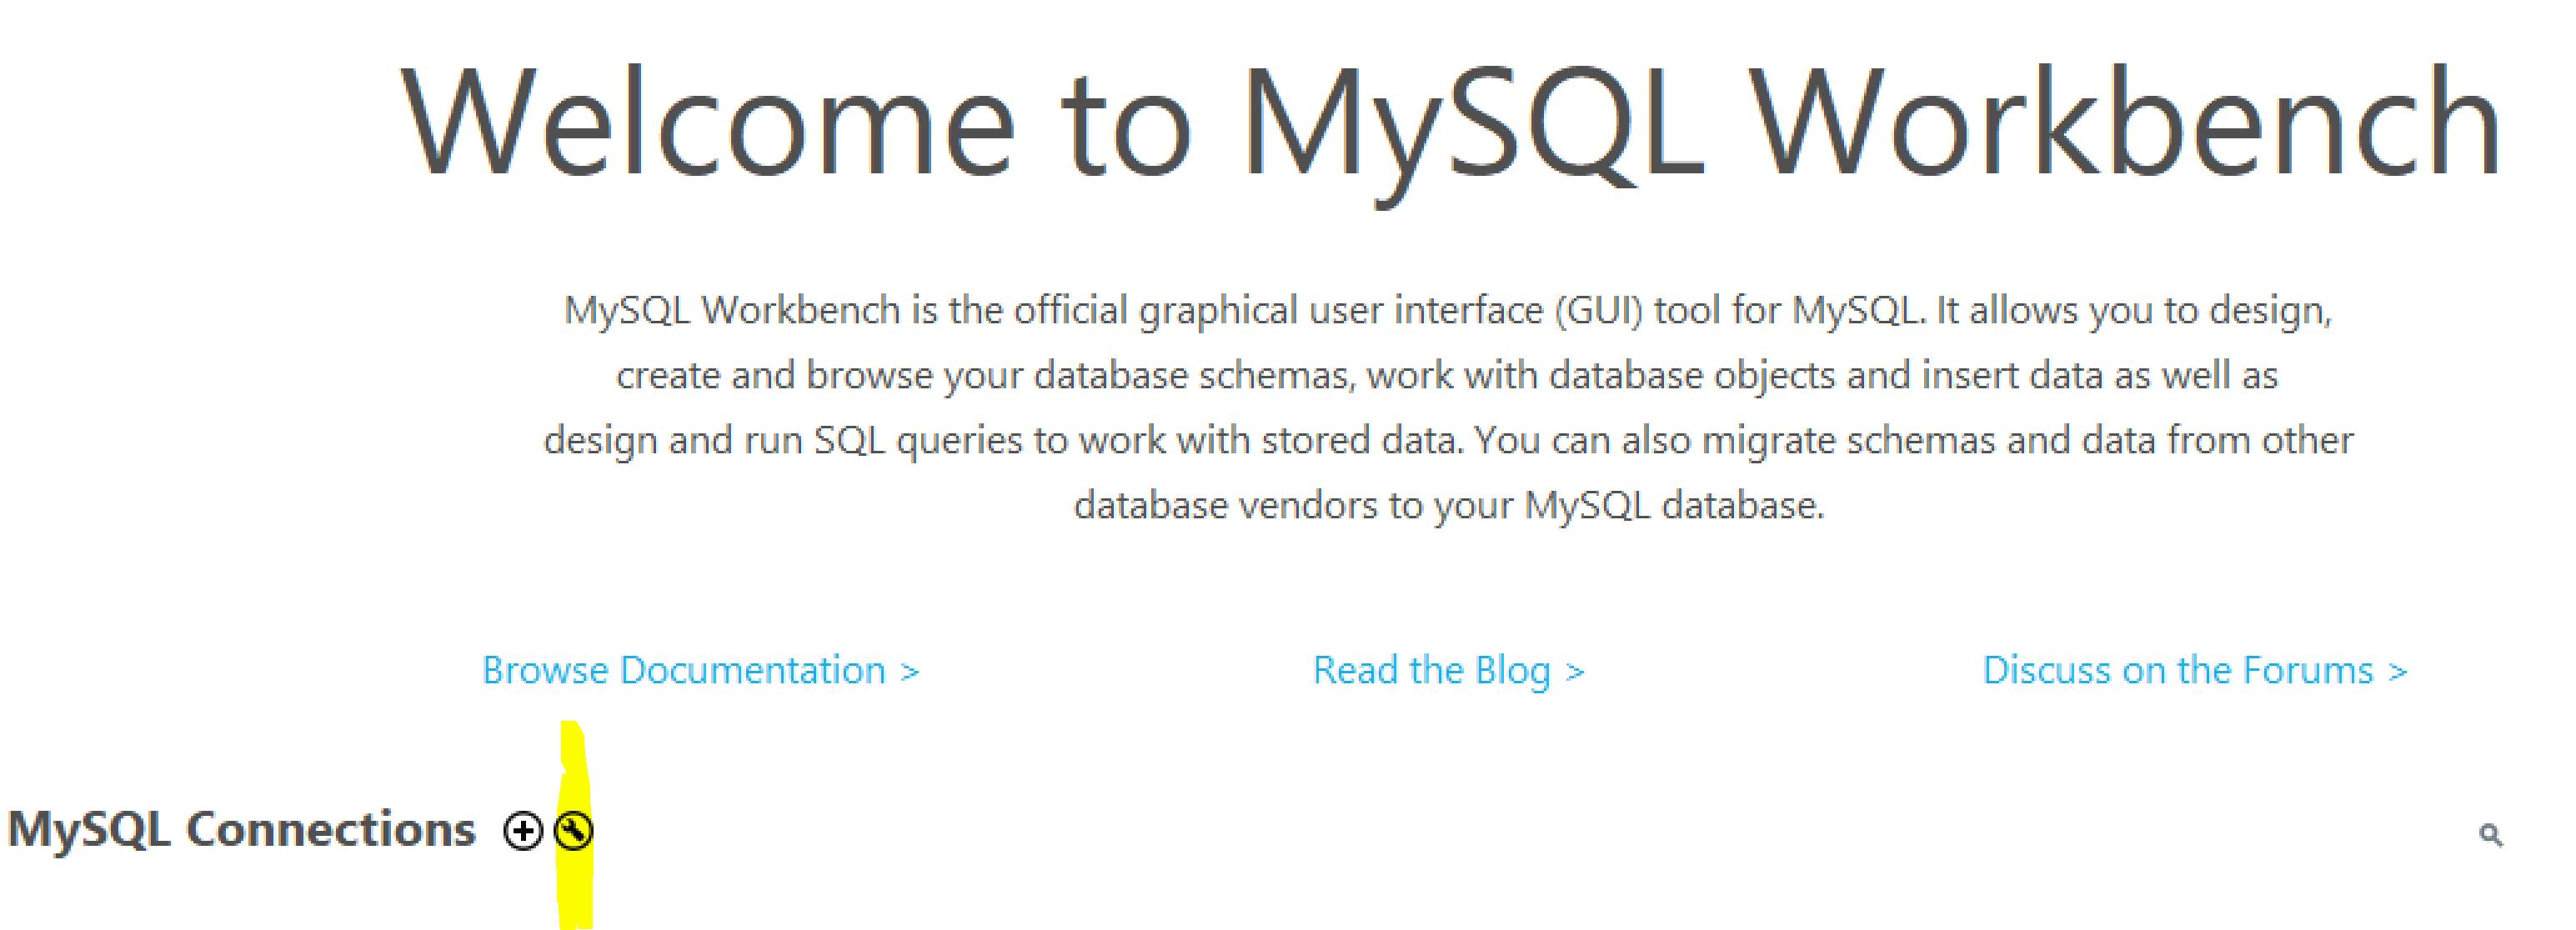
- Click on the yellow sign.
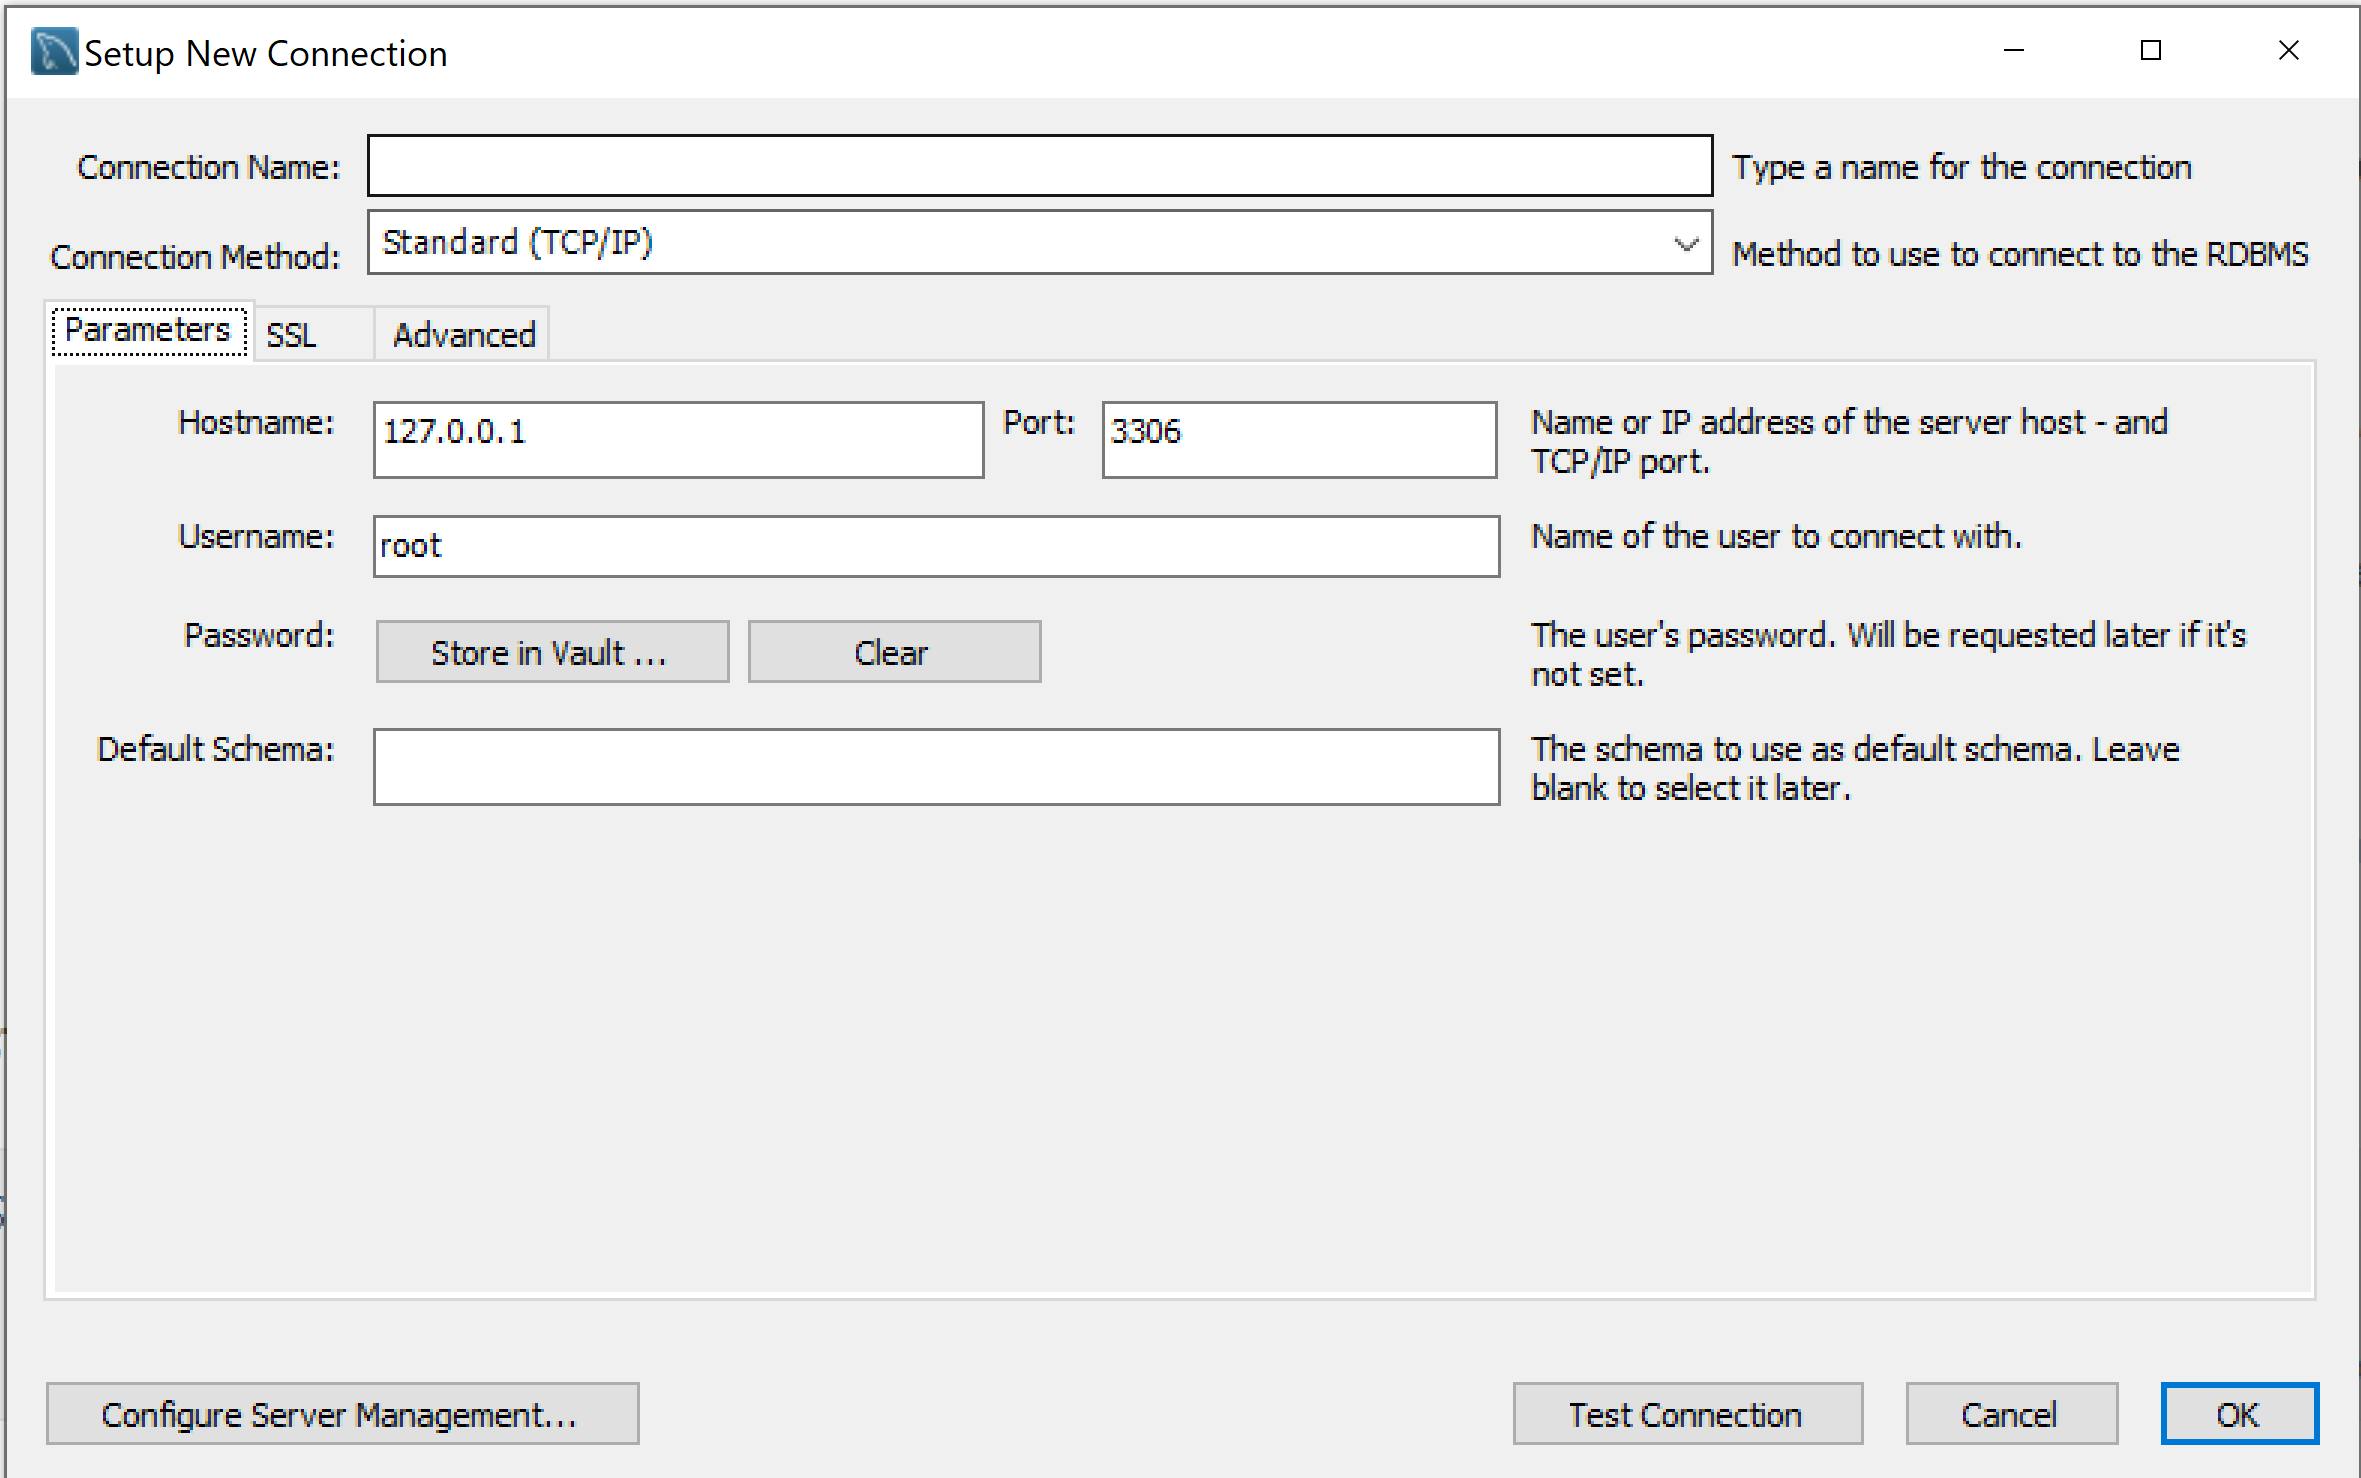
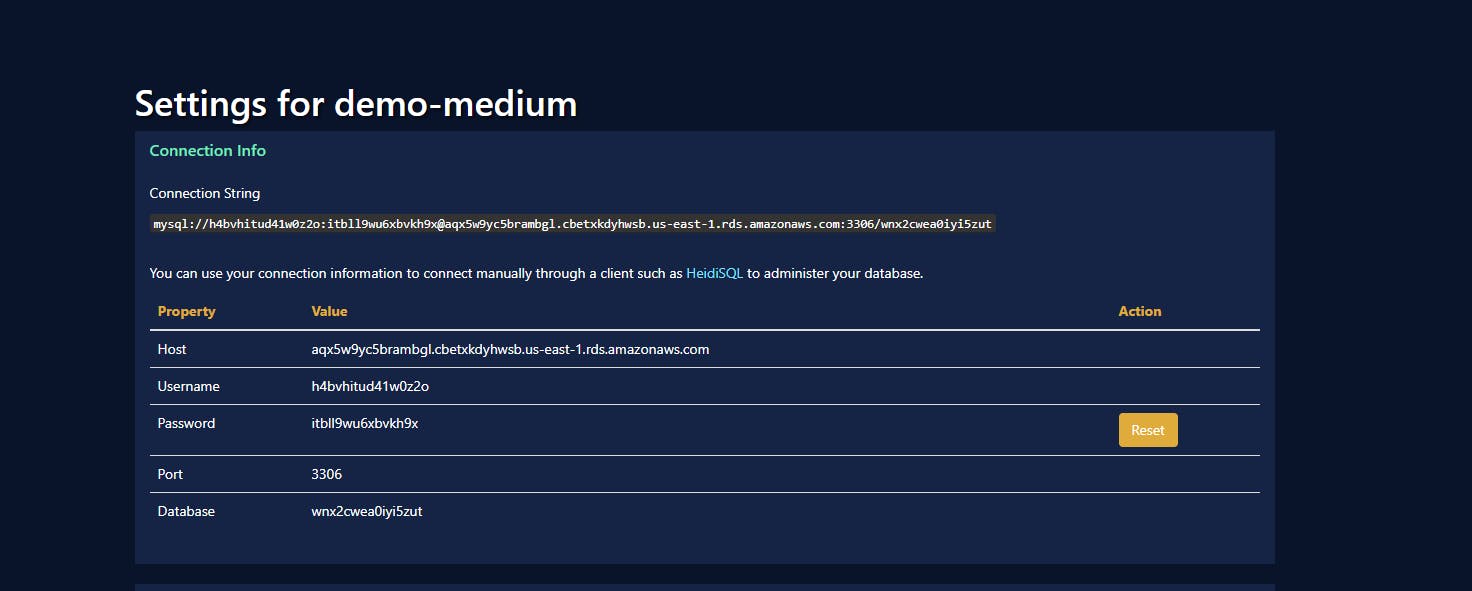
And now you can copy and past the information from picture (step 3) to your MySQL Workbench ( step 5).
After you finished click Test connection , and see if your connection is good.
Ok, now we will go to your project . You probably used sequelize if so inside your project you should get a folder named config. Open config folder ->you supposed to see a file named config . Copy and past the next piece of code.
"production": {
    "use_env_variable": "JAWSDB_URL",
    "dialect": "mysql"
  }
The last step is to open again your MySQL Workbench you supposed to see a new DB that we set up at the beginning of the article.
Inside the DB past next code :
DROP DATABASE IF EXISTS ________;
CREATE DATABASE __________;

SELECT * FROM Users;
I hope you enjoyed this tutorial 😎🙏